Do you want to cut on the repair price in replacing your motorbike tires? Do you understand how to change and balance the motorcycle tires? Doing this in your garage saves you a lot of cash. What many of us lack is the know-how about the two procedures.
And if you’re among this group of people, you now have a reason to smile. In this article, we present to you a list of the steps you can follow in changing and balancing of your motorcycle tires.
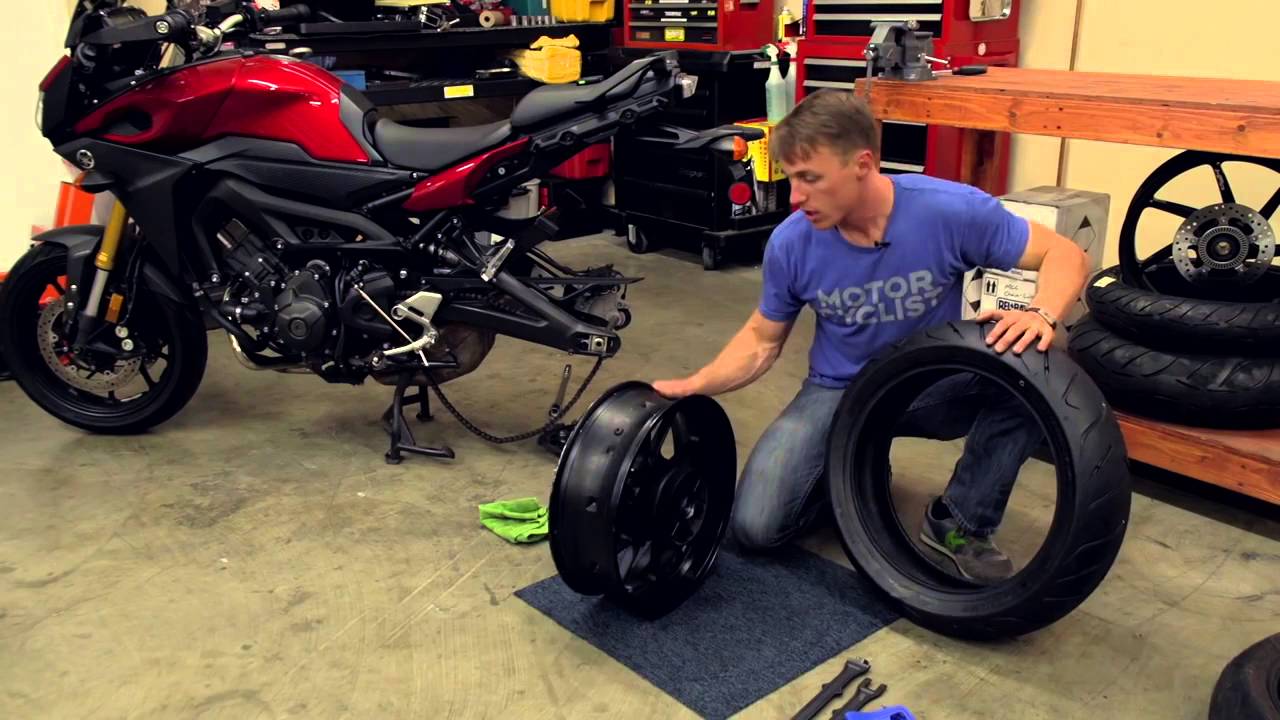
How to change Motorcycle Tires
For you to change motorcycle tires consider the following steps;
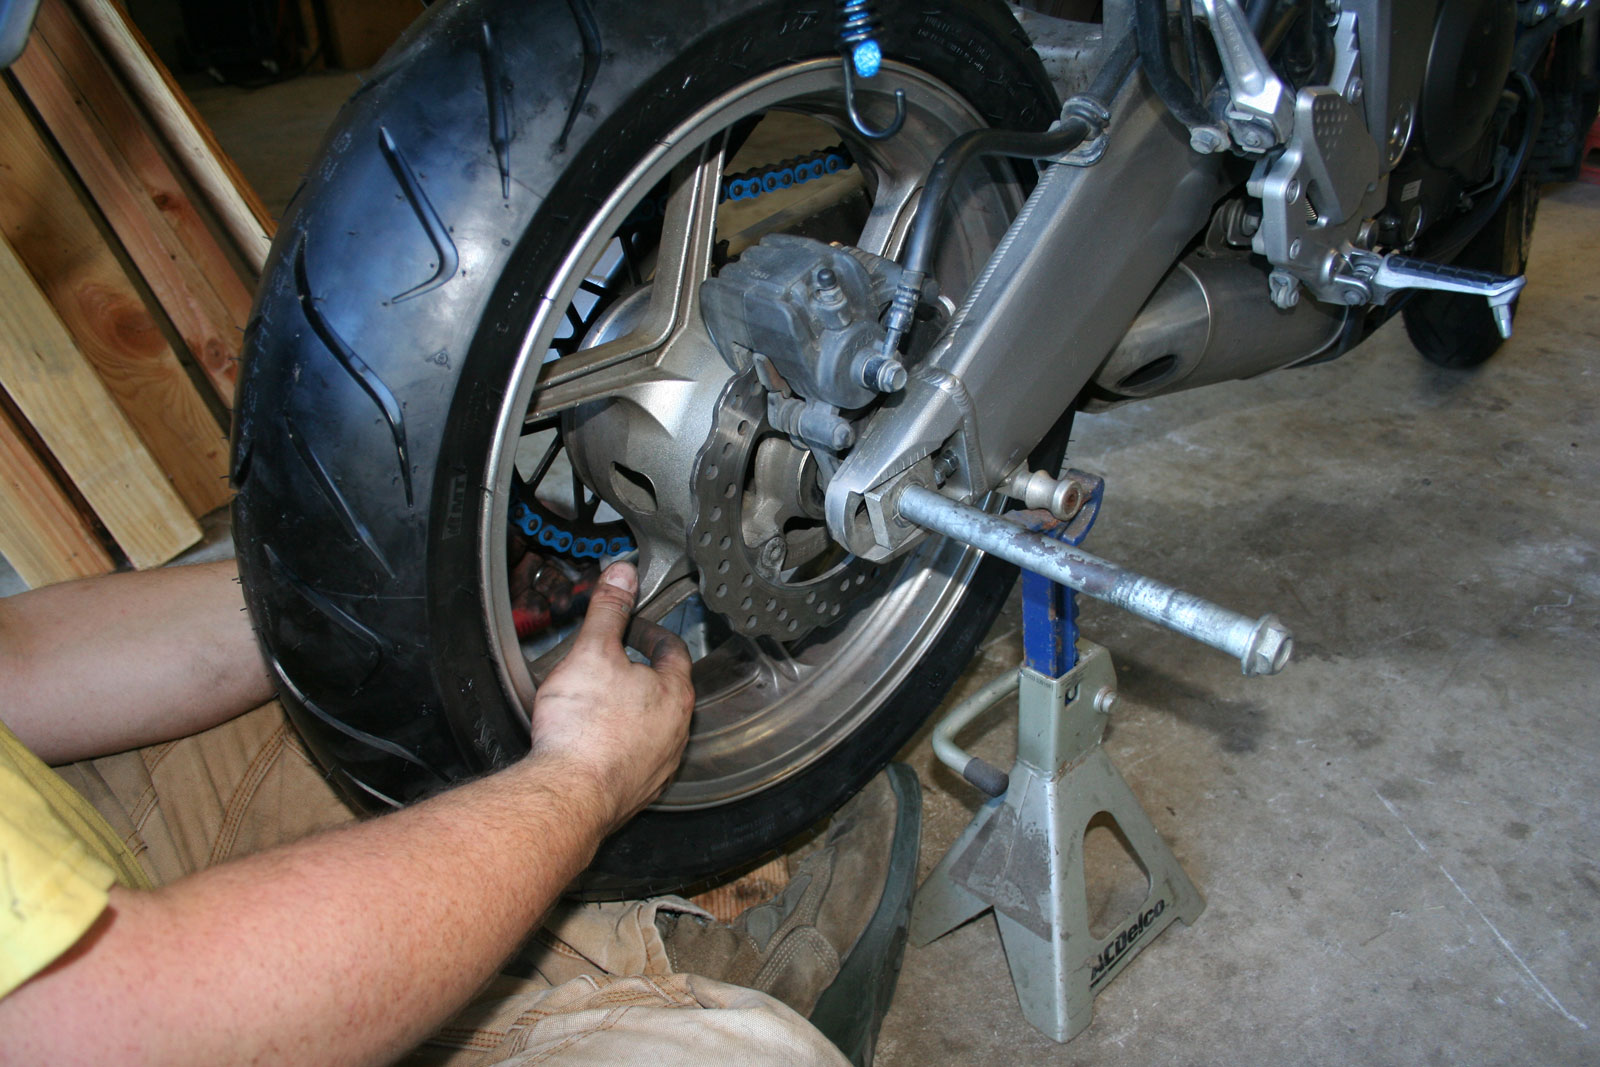
Remove the tire: The first step to replace motorcycle tyre is removing it from the bike. However, consider reading through the motorcycle manual for the instructions to follow. The primary action is to ensure that the wheel is off the ground.
Deflate the tire: Using the recommended tools, remove the stem core from the valve stem. Consider not to use the pliers as this can result in damages of the valve stem.
Breaking the bead connecting the rim and the tire: Large tires will require particular dead breakers, but a narrow tire can get broken using a benchtop vise. The use of a hammer to beat on the tin will only damage the rim instead of making the tire loose.
Lever off the edges: You should use tire spoons to lever off the first side of the tire after breaking the bead. Consider using a larger spoon to make the whole process more comfortable to carry out.
Slide the spoon between the tire and the rim, grab the tire edge and pull it up and over the edges of the rim. Consider doing the same for the other side of the tire. If the tire has a tube, remove it before levering off the other faction.
Clean the rim: Clean the inside of the frame using a wire brush to remove all the rust and dust. After this, consider applying bead lube on the edges of the tire so that it can easily slide into the rim.

Lever one side of the new tire onto the rim using forks spoons. You should make sure to insert the inner tube before you lever the other side of the wheel. Install back the valve stem and you can inflate the new tire making sure it completely seat on the rim.
Fix back the wheel on the motorcycle
How to balance the tire
First, ensure that the balancer is in a stable surface securing that the shaft is in level. Before you slide the rod into the axle sleeve, remove one of the balancer cones. Slide the cone back afterward making sure that it gets tightly held. The two cones should fit inside the axle sleeve. The thirds step is to wipe off dirt on the rim that can contribute to any additional weights.
After this, spin the tire and leave it to make a free stop. The lowest position marks the most massive point, and therefore the lightest will be at the top.
Add some weight on the spot with less then rotate the tire until the two positions come to settle on the same distance from the surface.
Mark the substantial and lightest points and repeat the process until the wheel cannot rotate freely on its own. At this point, the balancing is okay, and you can remove the tire from the balancer. You can consider using either adhesive or spoke weights to do the balancing.
Final Verdict
Why then should you continue wasting money on mechanics? You can do a DIY and save the extra cost for other expenses. However, consider following the manual to avoid causing any further damages to the rim.